Straightforwardly, let's continue this project with Part 2 of the painting guide.
If you have missed Part 1, click here.
If you have missed Part 1, click here.
8. Details - More highlights

In this step I highlighted the metal parts, the brown leather parts and the scrolls.
For the brown highlights I mixed the basecolour with Medium Grey to lighten the colours up for an edge highlight.
The scrolls were edge highlighted with pure Medium Grey. I also used several layers of heavily watered down Medium Grey, which I painted in strokes to create an aged look.


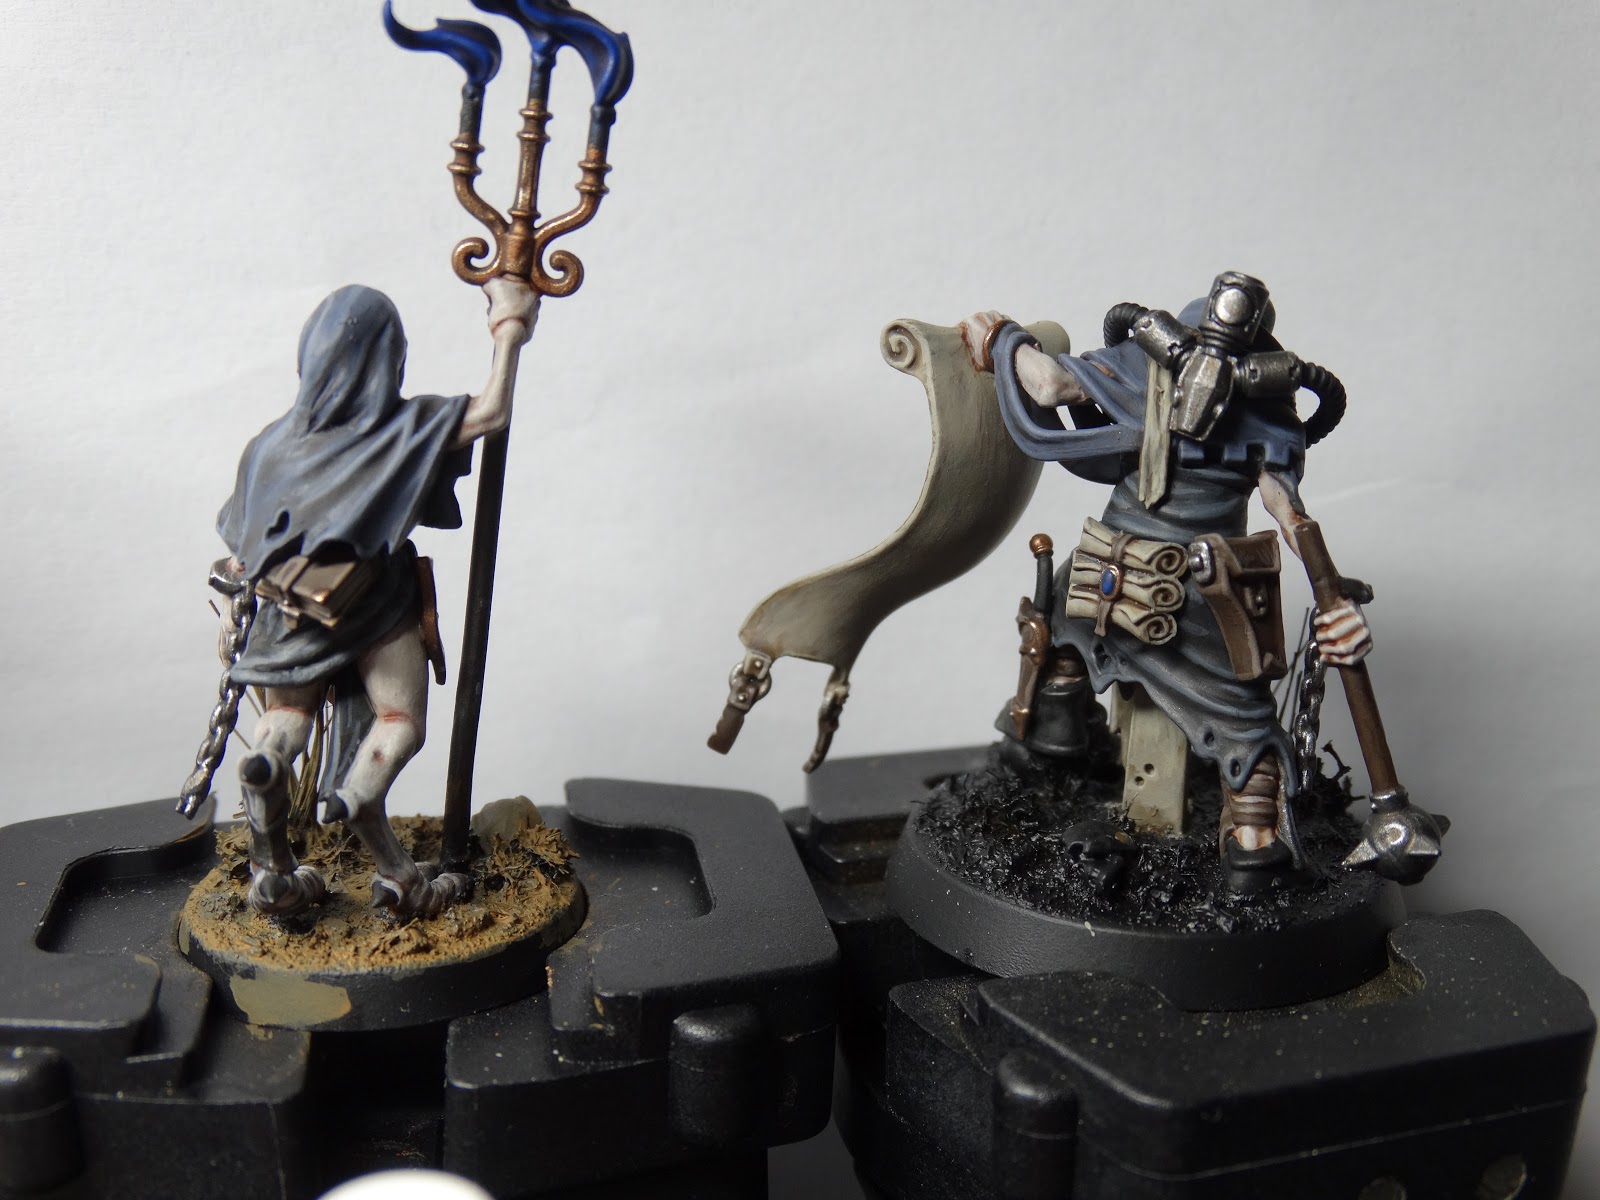

8. Highlight the black parts

I used Black to cover the tubes, claws, fingernails, candels, etc. and highlighted all the black parts.


9. Freehands

This was a fun step and went, surprisingly, way better than expected ;-)
I mixed Black Grey with Drakenhof Nightshade (50/50) to get a nice flowing consistency and express myself in some daemonic runes.


10. Flames and gemstones

I painted the gemstones in the GWs style.
For the flames I thought I could create a, let's call it, reverse shade. This was basicly the lighter blue, heavily diluted with water, which should brighten the recess areas. This worked somehow, but afterwards I had to clean this up a bit. I also painted the birds eyes at this step.


10. Colour for the bases

As seen on K'zias base before, I finished this session with a layer of Flat Earth on the bases. I've choosen this colour to have a complementary colour to the blues. At this point I could regret to make the basing before, but I think there are some good reasons (ie strenght, thoughness) to create them in the beginning.


Somehow I really want to try a OSL (first try) for the flame. So watch me messing this all up in the next part :-P . Part 3 of this 'tutorial' will follow in a few days.
Continue with Part 3 of this painting guide.
As always, thank you very much for your visit, feel welcome to comment and stay tuned!
Continue with Part 3 of this painting guide.
As always, thank you very much for your visit, feel welcome to comment and stay tuned!
No comments:
Post a Comment